A DIY Toner That Combats Redness Naturally
Many people don’t realize that facial redness can stem from various sources, including rosacea, allergies, and environmental factors. Fortunately, you can effectively address this issue with a simple DIY toner crafted from natural ingredients. By incorporating specific components known for their soothing properties, you can create a remedy that calms irritation and promotes healthier skin. Curious about what ingredients to use and how to make it? Let’s explore this natural solution together.
Key Takeaways
- Combine witch hazel and water in equal parts for anti-inflammatory benefits that soothe redness.
- Add aloe vera gel to hydrate and calm irritated skin effectively.
- Include chamomile extract to reduce inflammation and redness, perfect for sensitive skin types.
- Incorporate a few drops of essential oil, like lavender, for added soothing effects and pleasant aroma.
- Apply toner twice daily on clean skin, focusing on redness-prone areas for optimal results.
Understanding Facial Redness
Facial redness can occur for various reasons, and understanding its causes is crucial for effective treatment. Factors like rosacea, allergies, or irritants can lead to increased blood flow and inflammation in your skin. Environmental triggers, such as sun exposure or harsh weather, can also aggravate your complexion. Additionally, certain skincare products might cause irritation, exacerbating the redness. To help manage this condition, using a redness facial toner can be beneficial. Look for formulations that soothe and calm the skin, reducing inflammation and providing hydration. Identifying the root cause of your redness is essential for selecting the right treatment options. Incorporating natural DIY face masks can also enhance your skincare routine by providing additional soothing benefits.
Benefits of Natural Ingredients
When you choose natural ingredients for your DIY toner, you’re not just opting for gentler alternatives; you’re also harnessing the power of nature to address skin redness effectively. Natural ingredients often contain anti-inflammatory and soothing properties, making them perfect for calming irritated skin. Additionally, they’re less likely to cause adverse reactions compared to synthetic additives. Here’s a quick look at some benefits:
| Ingredient | Benefit | Skin Type |
|---|---|---|
| Aloe Vera | Soothes irritation | All skin types |
| Chamomile | Reduces redness | Sensitive skin |
| Green Tea | Fights inflammation | Oily skin |
| Witch Hazel | Tightens pores | Combination skin |
Incorporating natural ingredients into your skincare routine can significantly enhance your efforts to maintain a clearer complexion.
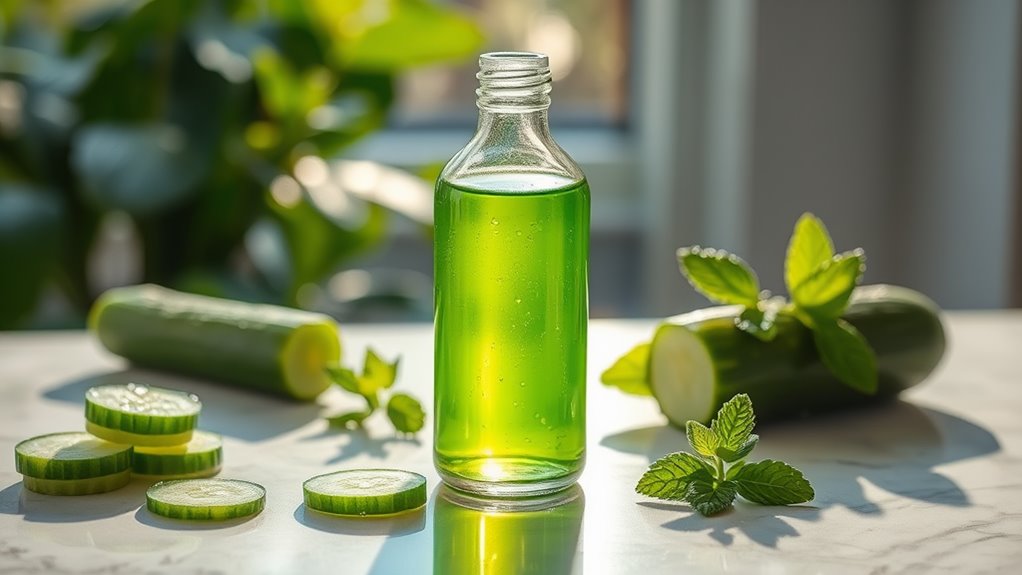
Essential Ingredients for Your DIY Toner
Natural ingredients can significantly enhance the effectiveness of your DIY toner, and selecting the right components is key to achieving the best results.
Consider using witch hazel for its anti-inflammatory properties, which can soothe redness. Aloe vera gel is another excellent choice; it hydrates while calming irritated skin. Rose water not only provides a pleasant aroma but also helps balance skin’s pH. Additionally, chamomile extract can reduce inflammation and redness. Finally, a few drops of tea tree oil can add antibacterial benefits. Furthermore, incorporating natural hydrating serums can amplify the moisturizing effects of your toner.
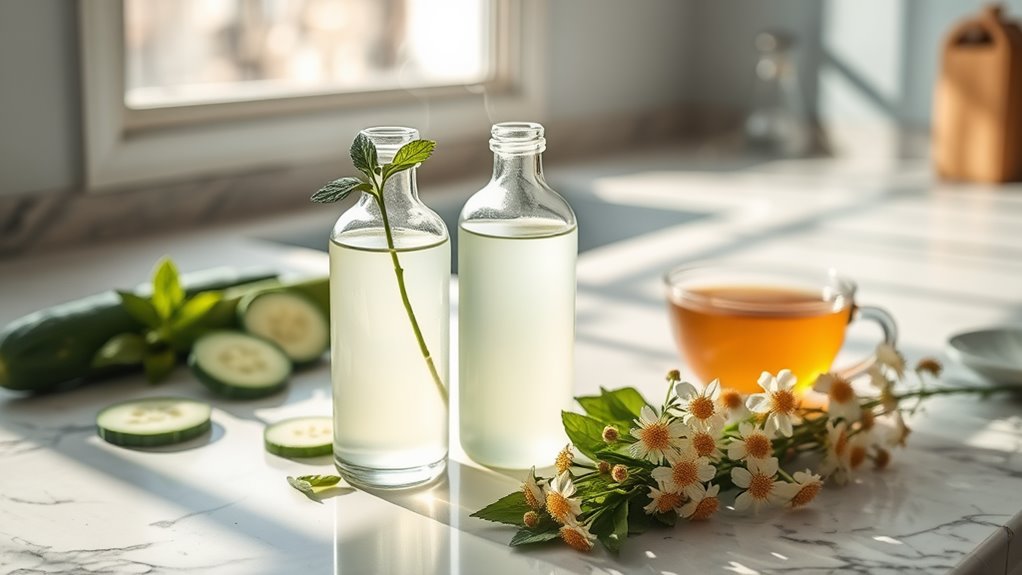
Step-by-Step Toner Recipe
Creating your own toner at home is both easy and rewarding.
Start by gathering your essential ingredients: witch hazel, aloe vera gel, and a few drops of essential oil like lavender.
In a clean glass container, mix one part witch hazel with one part water.
Add one tablespoon of aloe vera gel for its soothing properties.
Finally, incorporate 2-3 drops of your chosen essential oil.
Stir the mixture well until combined.
Pour the toner into a sterilized bottle for storage.
Remember to shake it before each use.
Your natural toner is now ready to help combat redness effectively! Additionally, using natural ingredients like witch hazel and aloe vera can enhance your skin’s hydration and promote glowing skin.
How to Apply the Toner
After you’ve prepared your DIY toner, it’s important to apply it correctly for the best results.
Start with a clean face; gently cleanse your skin to remove any impurities.
Next, use a cotton pad or your fingertips to apply the toner evenly across your face.
Focus on areas prone to redness, but avoid the eye area.
Allow the toner to absorb fully into your skin before applying any additional products.
For maximum benefits, consider using the toner twice daily, morning and night. Consistency is key to seeing improvements, so stick with your routine for the best outcome. Additionally, incorporating a DIY hydrating serum can enhance your skin’s moisture levels and promote a more radiant complexion.
Tips for Maximizing Results
Wondering how to get the most out of your DIY toner?
First, always store it in a glass container to preserve its effectiveness.
Use it consistently, ideally twice daily, for best results.
After applying, follow up with a suitable moisturizer to lock in hydration.
Be sure to patch-test any new ingredients to avoid irritation.
Additionally, incorporate soothing ingredients like aloe vera or chamomile into your routine for enhanced benefits.
Finally, drink plenty of water and maintain a balanced diet to support your skin from the inside out. Personalized homemade skincare can also play a significant role in tailoring your routine to your unique needs.
Consistency and care are key to reducing redness effectively!