Homemade Lotion Bars That Melt Into Skin
Homemade lotion bars are a practical solution for achieving deeply hydrated skin without the fuss of traditional lotions. These bars melt upon contact, providing a silky texture that locks in moisture. By using natural ingredients like shea butter and beeswax, you can create a customizable product tailored to your skin’s needs. As you explore the process of making these lotion bars, you’ll discover essential techniques and tips that can elevate your DIY experience. What’s next?
Key Takeaways
- Lotion bars melt on contact, providing targeted hydration and moisture retention for effective skin nourishment.
- Key ingredients like shea butter and coconut oil support deep hydration and quick absorption into the skin.
- Essential oils can be added for calming effects and to enhance the fragrance of the lotion bars.
- Use a double boiler to gently melt beeswax, shea butter, and coconut oil for a smooth mixture.
- Store lotion bars in a cool, dry place and apply on damp skin for maximum absorption benefits.
The Benefits of Lotion Bars
Lotion bars offer a convenient and effective way to nourish and hydrate your skin.
These solid moisturizers melt upon contact, providing targeted hydration exactly where you need it.
When you create a DIY lotion bar, you control the ingredients, tailoring them to suit your skin type and preferences.
Unlike traditional lotions, lotion bars don’t contain water, which means they often require fewer preservatives and last longer.
Plus, they’re easy to carry, making them perfect for on-the-go hydration.
With their compact size and intense moisturizing properties, lotion bars are a fantastic alternative to conventional lotions, enhancing your skincare routine seamlessly. Additionally, incorporating hydrating oil can further elevate your skin’s moisture levels for a truly radiant complexion.
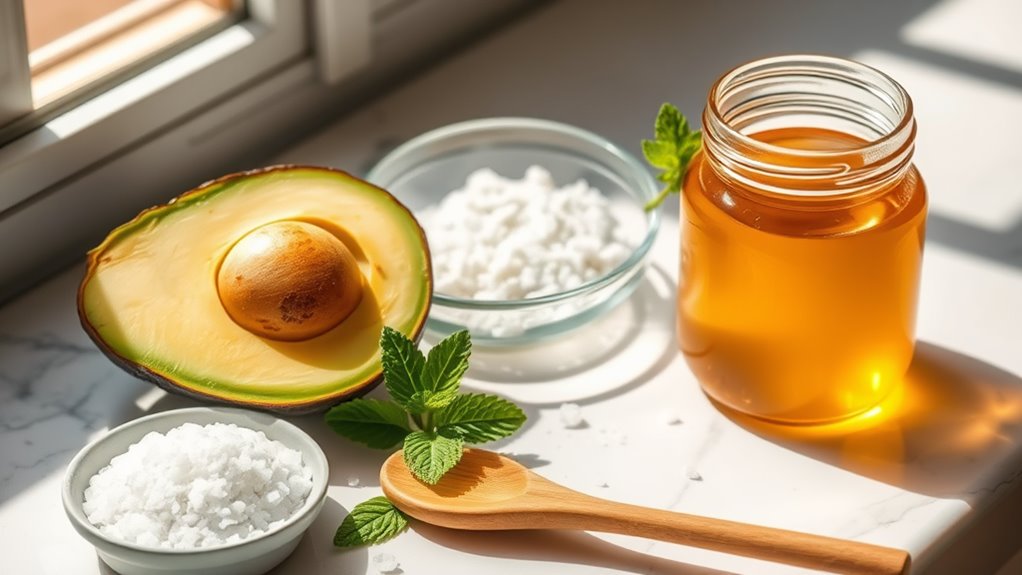
Essential Ingredients for Your Lotion Bars
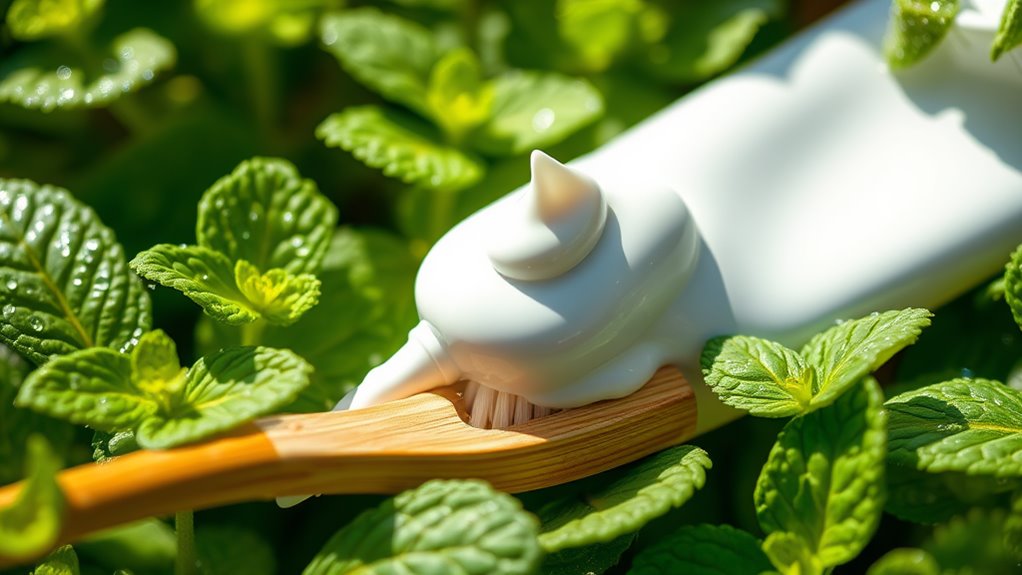
When creating your homemade lotion bars, it’s essential to choose the right ingredients for maximum effectiveness. Key moisturizing oils will nourish your skin, while natural beeswax provides a protective barrier. Additionally, selecting the right essential oils can enhance the fragrance and therapeutic benefits of your lotion bars. Incorporating essential moisturizing oils can further transform your skin by providing deep hydration and promoting a healthy, radiant complexion.
Key Moisturizing Oils
Moisturizing oils are the heart and soul of your homemade lotion bars, providing essential hydration and nourishment to the skin.
Selecting the right oils can transform your bars into luxurious treats for your skin. Here are three key moisturizing oils to consider:
- Coconut Oil – Known for its deep hydration, it absorbs quickly and leaves skin feeling silky.
- Sweet Almond Oil – Rich in vitamins, it soothes irritation and enhances skin texture.
- Jojoba Oil – Closely mimicking skin’s natural oils, it balances moisture and promotes elasticity.
Incorporating these oils will elevate your lotion bars and deeply pamper your skin.
Natural Beeswax Benefits
Natural beeswax is a crucial ingredient in your homemade lotion bars, offering a range of benefits that enhance both functionality and skin care.
It acts as a natural emulsifier, binding oils and other ingredients together, ensuring a smooth application.
Beeswax forms a protective barrier on your skin, locking in moisture and preventing dryness without clogging pores.
Additionally, it has anti-inflammatory properties, soothing irritated skin and promoting healing.
Its natural scent and texture enhance the overall experience of your lotion bars, making them not just effective but also enjoyable to use.
Incorporating beeswax elevates the quality of your homemade skincare products.
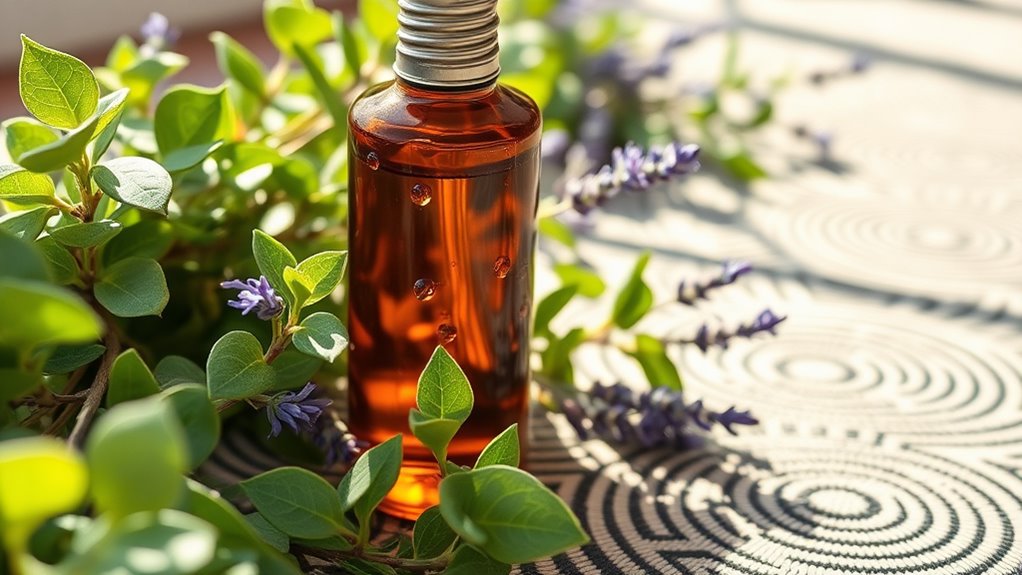
Essential Oils Selection
Selecting the right essential oils for your lotion bars can significantly enhance their therapeutic properties and fragrance. Here are three key oils to consider:
- Lavender: Known for its calming effects, it helps reduce stress and promotes relaxation.
- Tea Tree: With its antibacterial properties, it’s perfect for soothing skin irritations and blemishes.
- Sweet Orange: This uplifting scent not only brightens your mood but also adds a delightful citrus aroma.
Tools You’ll Need for Making Lotion Bars
To create your lotion bars successfully, you’ll need a few essential tools that streamline the process.
Start by gathering equipment for ingredient preparation, as well as molds for shaping and storage options for your finished product. With the right tools at hand, you can craft homemade lotion bars efficiently and effectively. Additionally, using high-quality ingredients can enhance the overall effectiveness of your bars, making them not only a cost-effective alternative but also a more sustainable choice for your skincare routine.
Essential Equipment Overview
When you embark on the journey of making homemade lotion bars, having the right tools at your disposal is crucial for achieving a smooth and effective product.
Here are three essential items you’ll need:
- Double Boiler: This allows for gentle melting of your oils and butters, preventing overheating and preserving nutrients.
- Silicone Mold: Perfect for shaping your bars, these molds offer flexibility for easy removal and clean-up.
- Measuring Cups and Spoons: Accurate measurements ensure your lotion bars have the right consistency and effectiveness.
With these tools, you’re well on your way to creating luxurious, skin-loving lotion bars.
Ingredient Preparation Tools
Having the right equipment is just the beginning; the next step involves gathering the right ingredient preparation tools for making lotion bars.
You’ll need a double boiler or a heat-safe bowl to melt your ingredients gently. A digital scale is essential for accurate measurements of oils and butters. Additionally, a spatula will help you mix everything thoroughly and scrape down the sides. Don’t forget a thermometer to monitor the temperature, ensuring you don’t overheat your mixture. Lastly, you may find a whisk useful for achieving a smooth consistency.
With these tools, you’re well on your way to creating beautiful lotion bars.
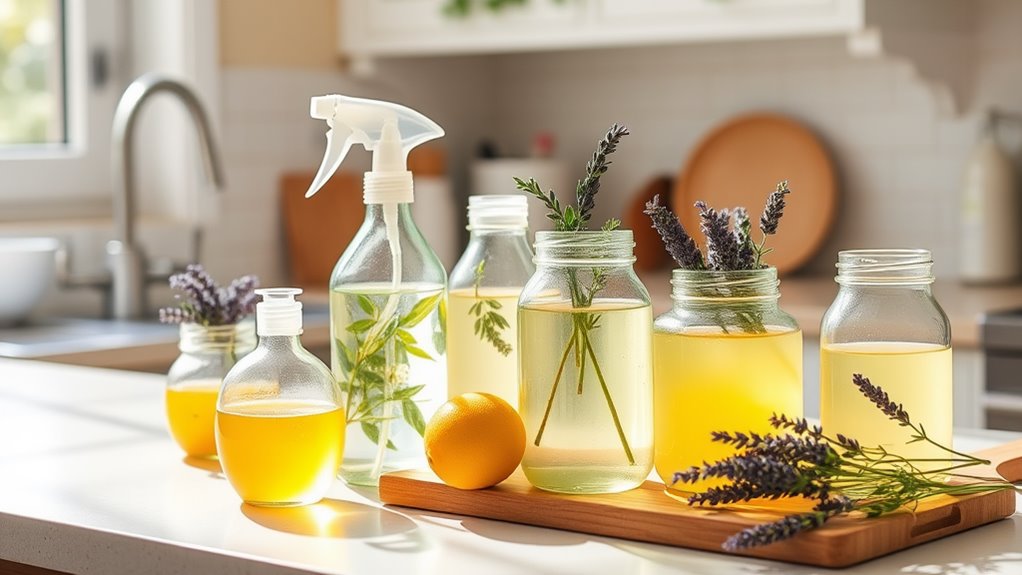
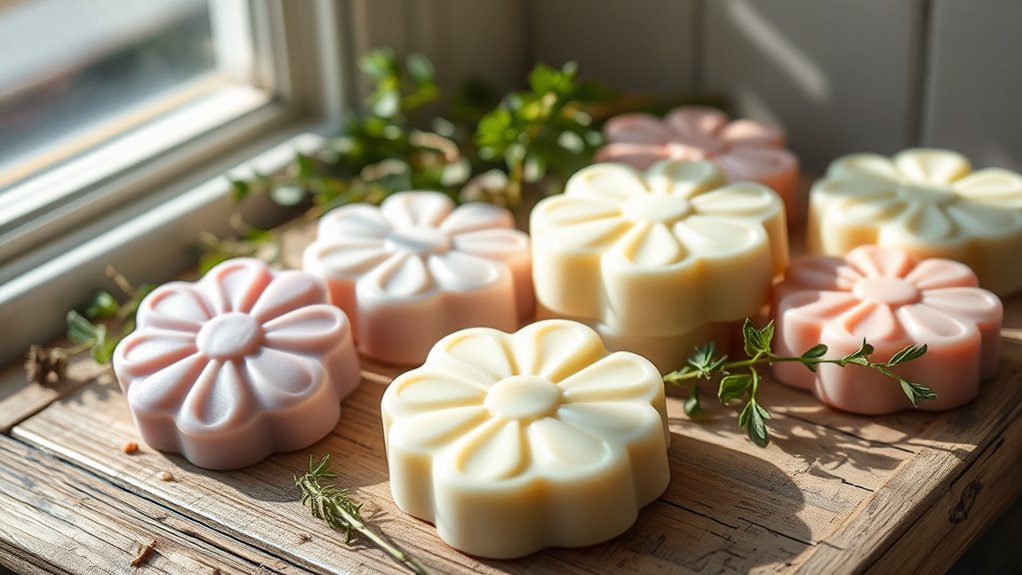
Molding and Storage Options
Choosing the right molds and storage options is crucial for crafting your homemade lotion bars. The molds shape your bars, while proper storage keeps them fresh and effective. Here are three essential tools you’ll need:
- Silicone Molds: Flexible and easy to release, silicone molds offer various shapes and sizes, making your lotion bars visually appealing.
- Glass Jars: For storage, glass jars preserve the integrity of your lotion bars and add a touch of elegance to your shelves.
- Labels: Clearly labeled jars help you identify different scents or formulations, ensuring you always grab your favorite bar when you need it.
Step-by-Step Guide to Making Lotion Bars
Making lotion bars at home is a simple yet rewarding process that requires just a few key ingredients and tools.
First, gather beeswax, shea butter, and coconut oil in equal parts, along with a double boiler or microwave-safe container. Melt the ingredients together until completely liquid. Once melted, pour the mixture into your chosen molds and let it cool until solid. After about an hour, gently remove the bars from the molds. Finally, store your lotion bars in a cool, dry place. Enjoy the nourishing benefits as they melt into your skin, providing deep hydration and protection. Using natural ingredients for your lotion bars ensures that you embrace natural beauty while caring for your skin.
Customizing Your Lotion Bars With Scents and Colors
Customizing your bars not only enhances their aesthetic appeal but also enriches your sensory experience. Here are three ways to personalize your lotion bars:
-
Essential Oils: Choose uplifting scents like lavender or citrus for relaxation and invigoration. Incorporating essential oils into your daily routine can provide various benefits for your overall well-being.
-
Natural Colorants: Use products like beet powder or spirulina to add vibrant colors without harsh chemicals.
-
Fragrance Oils: Blend unique fragrances to create a signature scent that makes your lotion bars truly yours.
Let your creativity shine!
Storing and Using Your Lotion Bars
To ensure your homemade lotion bars remain effective and fresh, proper storage is essential. Keep them in a cool, dry place, away from direct sunlight and heat sources, which can cause melting or spoilage.
Use airtight containers or tins to protect against moisture and air exposure.
When you’re ready to use your lotion bars, simply rub them between your hands to warm them slightly, allowing them to melt into your skin effortlessly.
For best results, apply after showering when your skin is still slightly damp, maximizing hydration and absorption. Incorporating hydrating oils into your lotion bars can further enhance their moisturizing properties.
Enjoy the nourishing benefits of your homemade lotion bars daily!
Tips for Perfecting Your Lotion Bar Recipe
How can you elevate your homemade lotion bars to the next level?
Follow these tips to achieve the perfect blend of effectiveness and luxury:
- Choose Quality Ingredients: Opt for organic butters and oils to ensure your skin reaps the benefits.
- Experiment with Essential Oils: Add your favorite scents for a personalized touch that uplifts your mood and enhances your experience.
- Test Different Ratios: Adjust the butter-to-oil ratio to find the ideal consistency that melts seamlessly into your skin. Additionally, consider incorporating natural ingredients known for their hydrating properties to boost the effectiveness of your lotion bars.