My Hair Felt Like Straw-Then I Tried This DIY Mask
Did you know that over 80% of people experience hair damage from heat styling and chemical treatments? If your hair feels like straw, you’re not alone. Many struggle with brittle, lifeless strands that seem impossible to revive. But what if there was a simple solution within your kitchen? Discover how a DIY hair mask can transform your locks and bring back the softness you thought was lost for good.
Understanding the Damage: Why Hair Feels Like Straw
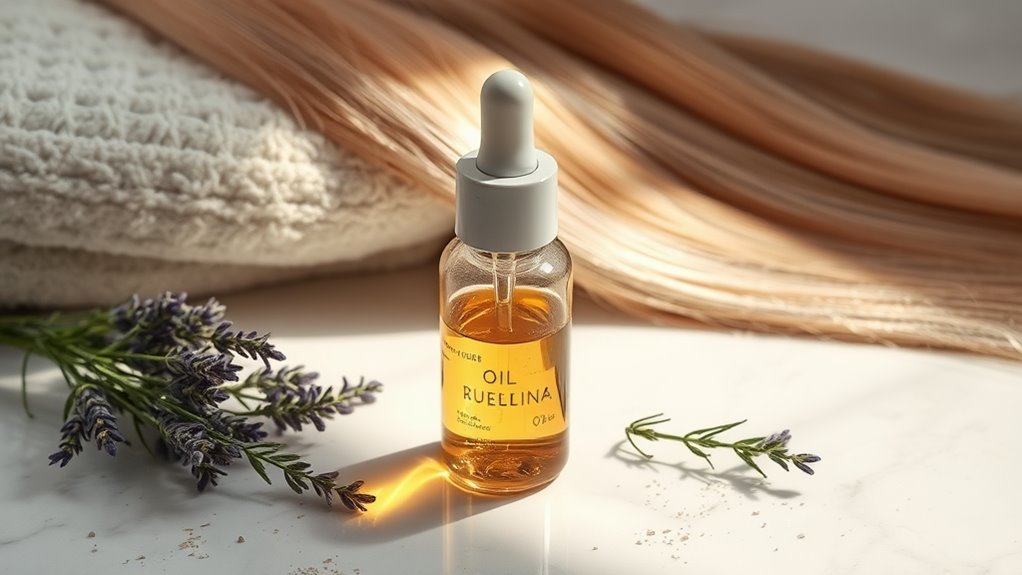
When you run your fingers through your hair and it feels like straw, it’s a sign that something’s gone wrong. This damage could stem from heat styling, chemical treatments, or environmental factors. Understanding this damage is crucial for natural hair repair. You need to nourish and restore your hair to regain its softness and shine, ensuring it looks vibrant and healthy again. Incorporating natural ingredients like honey and avocado into your routine can significantly enhance your hair’s nourishing properties, leading to improved texture and vitality.
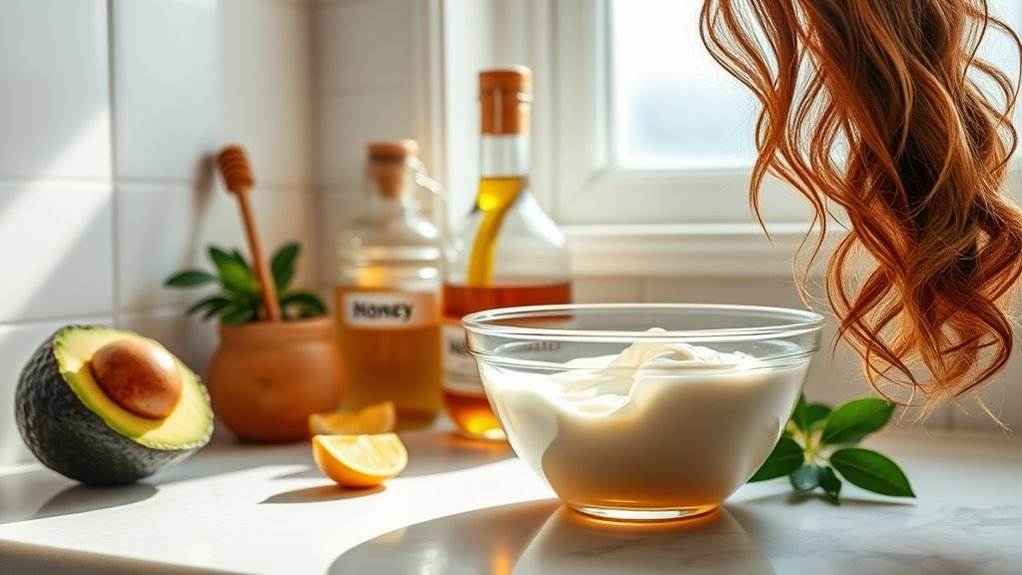
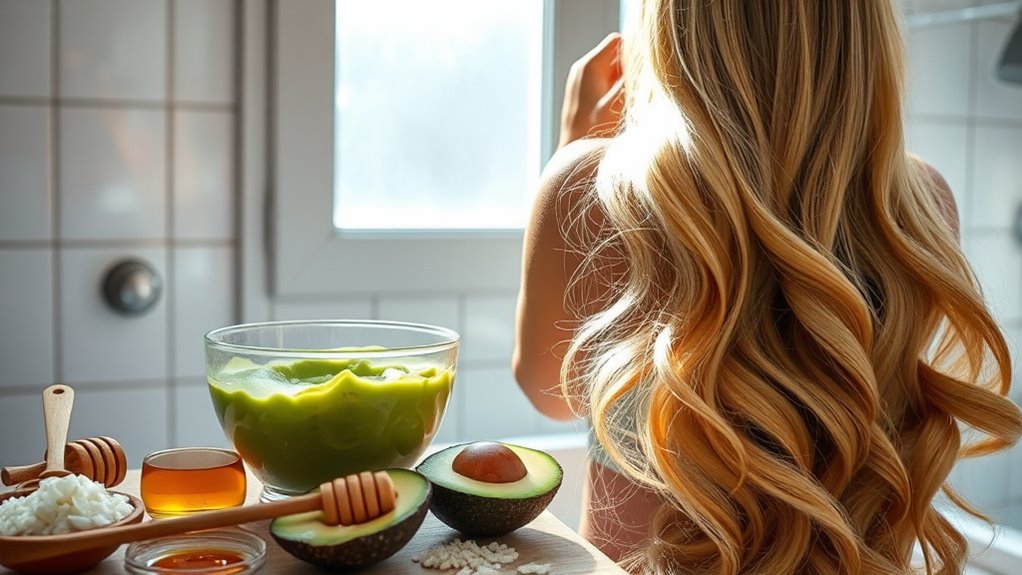
Key Ingredients for a Rejuvenating Hair Mask
A rejuvenating hair mask can transform your damaged locks back to their luscious state, and the right ingredients make all the difference.
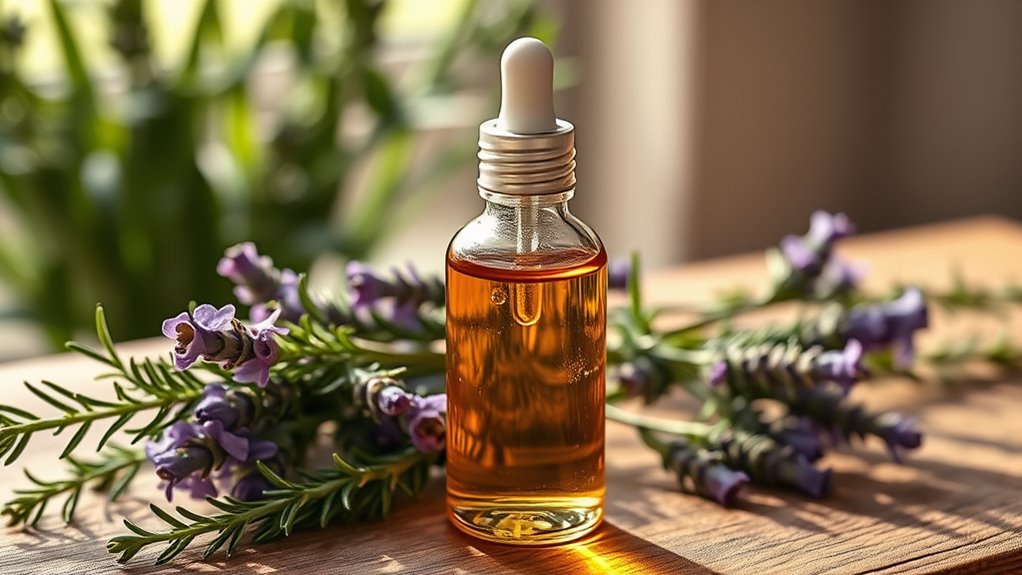
Look for nourishing oils like coconut and argan, which moisturize deeply. Honey’s natural humectant properties attract moisture, while avocados provide essential fatty acids.
Lastly, protein-rich yogurt repairs structural damage, giving your hair strength and elasticity. Incorporating organic ingredients into your routine not only nurtures your hair but also supports overall hair health.
Your hair deserves this healing blend!
Step-by-Step Guide to Preparing the DIY Mask
Creating your own DIY hair mask is simple and rewarding. Start by gathering your ingredients, mixing them in a bowl, and ensuring consistency. Then, follow the moisture-boosting steps below to achieve vibrant hair. Using natural ingredients in your mask can help restore your hair’s health and make a noticeable difference.
| Steps | Tips |
|---|---|
| Gather Ingredients | Choose fresh ingredients |
| Mix Thoroughly | Use a whisk for smoothness |
| Check Consistency | Aim for a creamy texture |
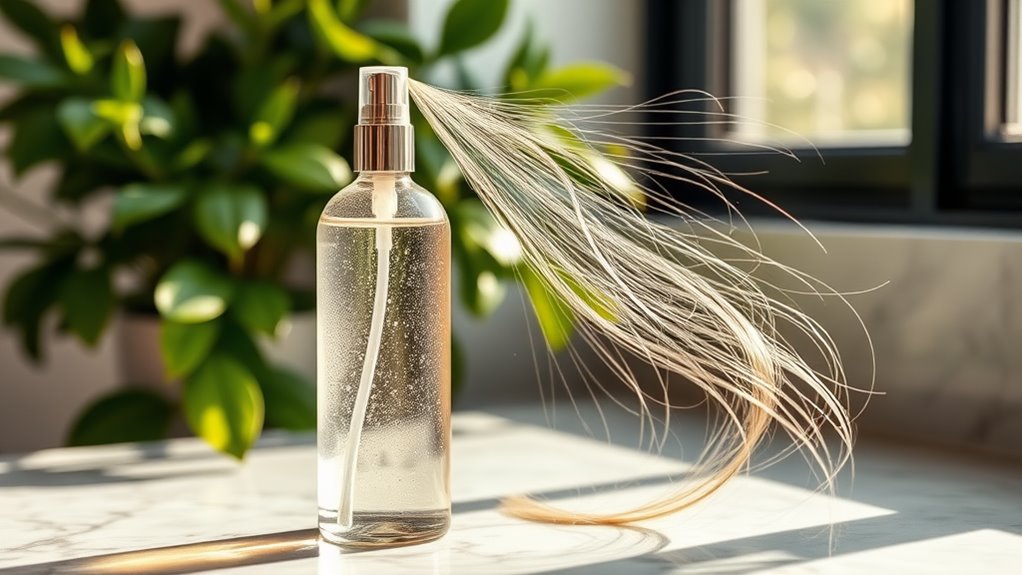
Application Techniques for Maximum Benefits
Once your DIY hair mask is ready, applying it effectively can amplify its benefits significantly.
Here are some techniques to consider:
-
Start with clean, damp hair for better absorption.
-
Section your hair for even distribution.
-
Use your fingers to gently massage the mask into your scalp.
-
Focus on the ends for extra hydration.
-
Leave it on for at least 30 minutes for optimal results. Additionally, consider incorporating natural hair growth practices into your routine to further enhance your results.
Results and Tips for Maintaining Healthy Hair
Though the results of your DIY hair mask can be remarkable, maintaining healthy hair requires ongoing care and attention.
Regular trims every 6-8 weeks prevent split ends, while using a gentle sulfate-free shampoo keeps your scalp balanced.
Don’t forget to hydrate with leave-in conditioner and minimize heat styling. Incorporating natural ingredients into your routine can further enhance your hair’s health and shine.
These simple habits ensure your hair stays strong, soft, and vibrant long after the mask.