
This DIY Hair Rinse Gave Me Softer, Shinier Hair
You might think DIY hair treatments are too complicated or time-consuming, but this simple rinse proves otherwise. Infused with natural ingredients like apple cider vinegar, chamomile tea, and honey, it’s an easy way to boost your hair’s shine and softness. Imagine transforming your dry, lackluster locks into healthy, vibrant strands with just a few steps. Curious about how to achieve these results? Let’s explore the benefits and the process together.
Benefits of a DIY Hair Rinse
When you embrace the simplicity of a DIY hair rinse, you not only nourish your locks but also save money and reduce exposure to harsh chemicals found in commercial products. This natural hair rinse enhances shine, strengthens strands, and promotes scalp health. You’ll enjoy healthier hair, fewer split ends, and a revitalizing experience, leaving your tresses feeling soft, lush, and full of life. Furthermore, using an all-natural hair repair mask can provide lasting benefits that further enhance the overall vitality of your hair.
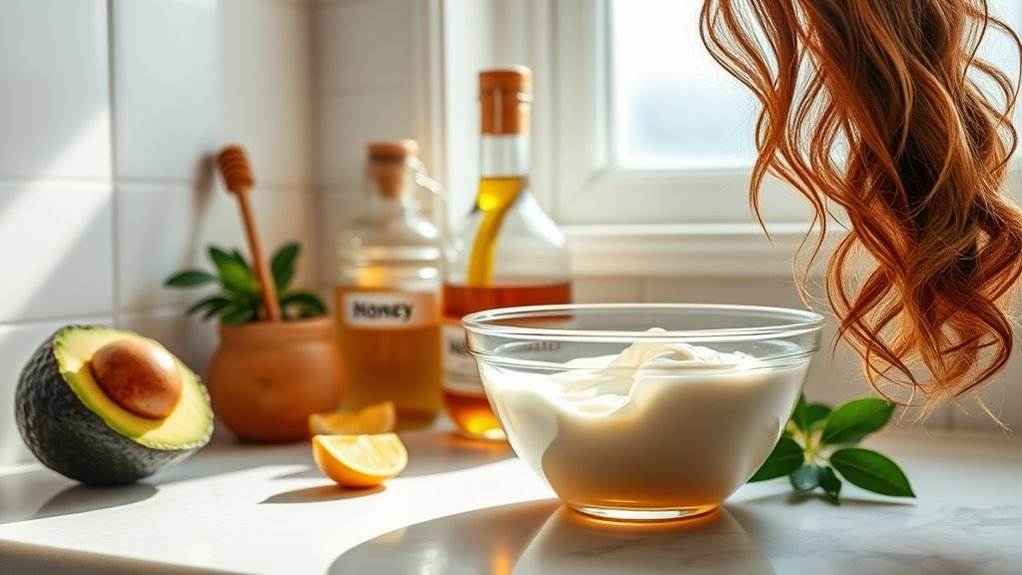
Ingredients You’ll Need
Crafting your own hair rinse is an exciting way to personalize your hair care routine, and it all starts with the right ingredients.
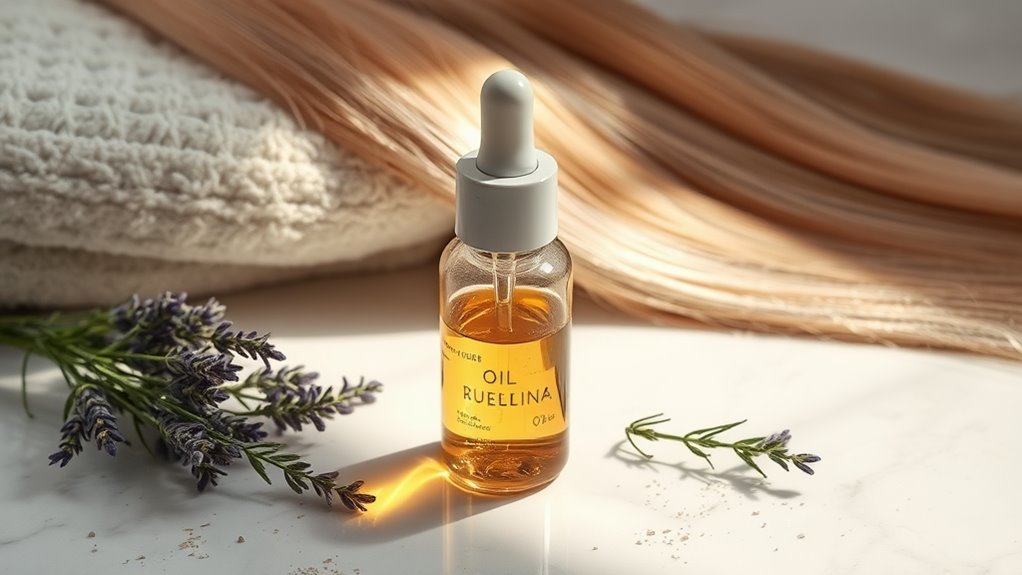
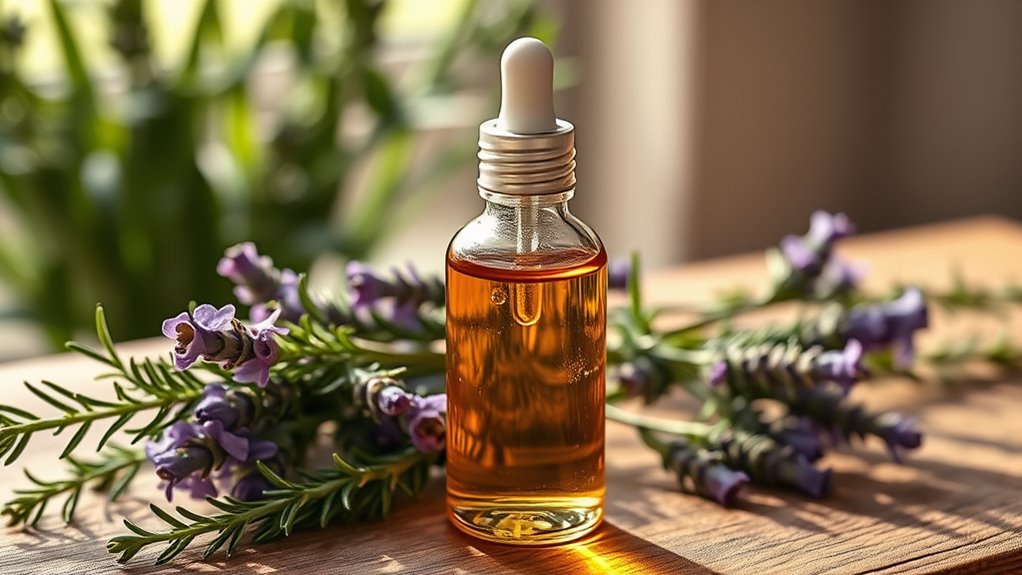
For a basic rinse, gather apple cider vinegar for shine, chamomile tea to soothe, and honey for moisture. You might also want to include essential oils like lavender for fragrance. Adding a hydrating oil can further enhance the overall health of your hair, promoting a glossy finish and softness.
These simple ingredients can transform your hair and enhance your natural beauty!
Step-by-Step Preparation
Creating your homemade hair rinse is a breeze with just a few simple steps.
Start by boiling two cups of water, then add your chosen herbs or ingredients.
Let it steep for 20 minutes, allowing the flavors to blend.
Once cooled, strain the mixture into a clean bottle, and you’re ready to enjoy your nourishing hair treatment. Incorporating ingredients with natural hair masks can enhance the benefits of your rinse.
Simple, right?
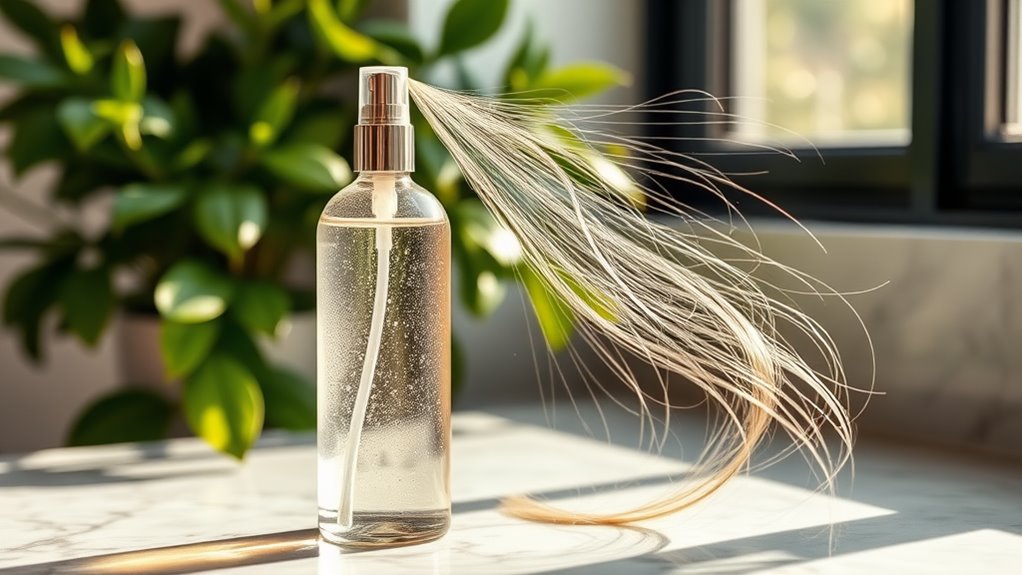
How to Apply the Rinse
Once you’ve prepared your DIY hair rinse, applying it effectively can enhance your hair’s health and shine.
Follow these steps for optimal results:
-
Wet your hair thoroughly before applying the rinse, ensuring even distribution.
-
Pour the rinse slowly onto your scalp, massaging it gently.
-
Leave it in for 5-10 minutes, allowing the nutrients to soak in before rinsing with cool water. Incorporating regular rinses can help maintain healthier hair by nourishing your strands naturally.
Enjoy the transformation!
Tips for Best Results
Achieving vibrant and healthy hair isn’t just about the rinse; it’s also about how you treat your hair before and after application. Here are some tips for best results:
| Step | Description | Frequency |
|---|---|---|
| Pre-rinse Prep | Detangle gently with a wide comb | Each wash |
| Rinse Timing | Let the rinse sit for 5-10 mins | Weekly |
| Condition After | Use a light conditioner | Post-rinse |
| Dry Properly | Pat dry with a soft towel | Each wash |
| Protect | Use heat protectant before styling | Always |
Incorporating natural remedies into your routine can greatly enhance your results and promote faster hair growth.
My Personal Experience
When I first started experimenting with DIY hair rinses, I was eager to see how they could enhance my hair’s vibrancy and health.
I noticed several benefits that transformed my hair routine:
- Increased shine and softness
- Nourished, healthier scalp
- Improved manageability
These simple rinses not only revitalized my hair but also boosted my confidence with every wash.