This DIY Scrub Made My Skin Feel Like Silk Overnight
Imagine transforming your skin overnight with just a few simple ingredients. This DIY scrub combines the nourishing powers of coconut oil and sugar to exfoliate and moisturize simultaneously. You might be surprised at how quickly your skin can feel remarkably softer and supple. Curious to uncover the steps and tips that can lead to such a luxurious experience? Let’s explore how to elevate your skincare routine effortlessly.
The Benefits of a DIY Scrub
Creating your own scrub can transform your skincare routine into a delightful and rewarding experience. A homemade face scrub offers personalized benefits, allowing you to cater to your skin’s specific needs.
You’ll find satisfaction in knowing exactly what’s going on your skin, and the gentle exfoliation boosts circulation, revealing a radiant, smooth complexion. Additionally, using natural ingredients promotes radiant skin that can enhance your overall glow and texture.
You’ll love how your skin feels and looks after each use!
Essential Ingredients You’ll Need
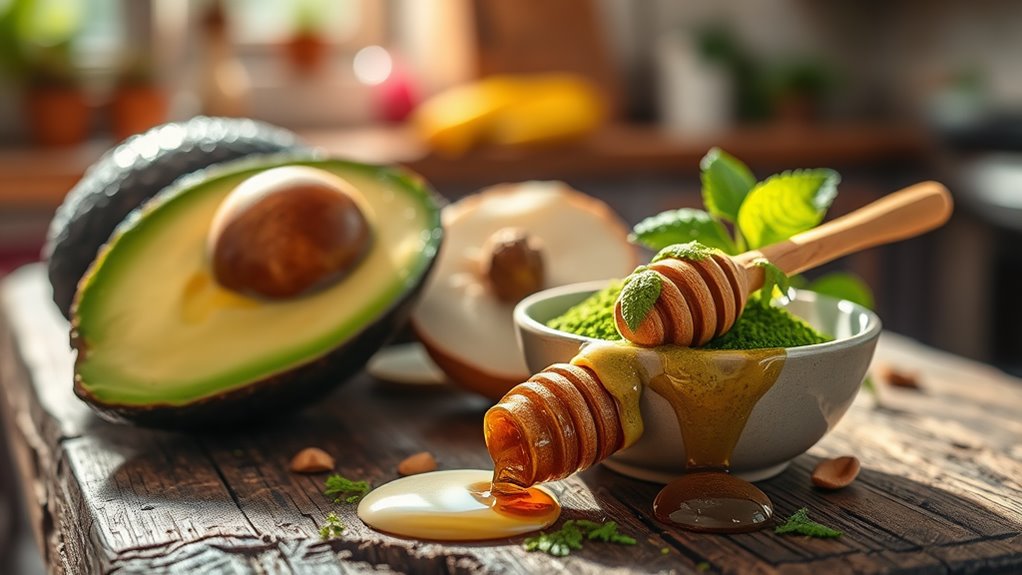
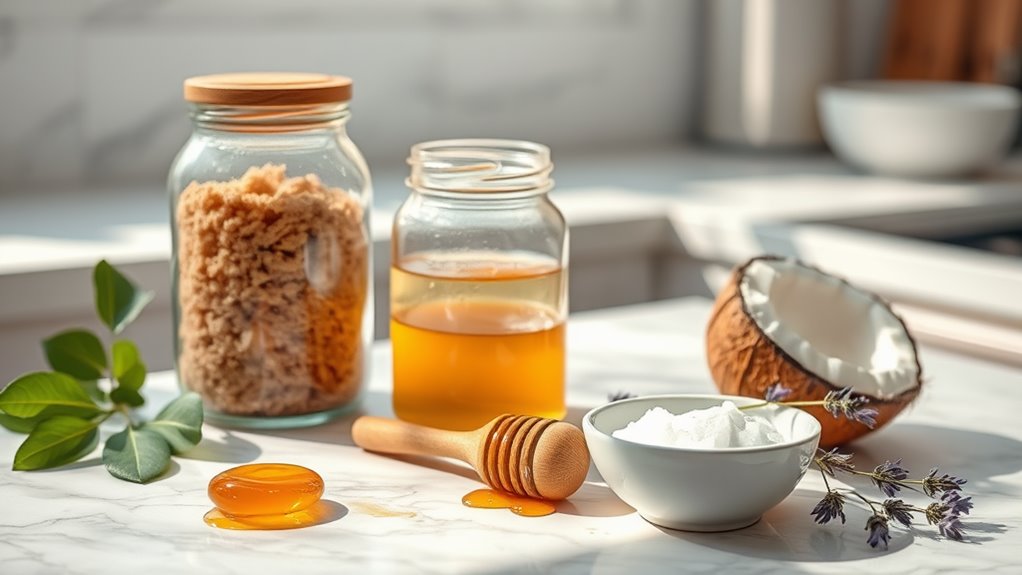
When you decide to whip up your own scrub, gathering the right ingredients is crucial for achieving that smooth, glowing skin you desire. Here’s a quick rundown of essential components you’ll need:
| Ingredient | Benefits |
|---|---|
| Sugar or Salt | Exfoliates dead skin cells |
| Coconut Oil | Moisturizes and nourishes |
| Essential Oil | Adds fragrance and soothing properties |
| Honey | Hydrates and heals skin |
Incorporating natural oils into your routine can further enhance the benefits of your DIY scrub.
Step-by-Step Instructions
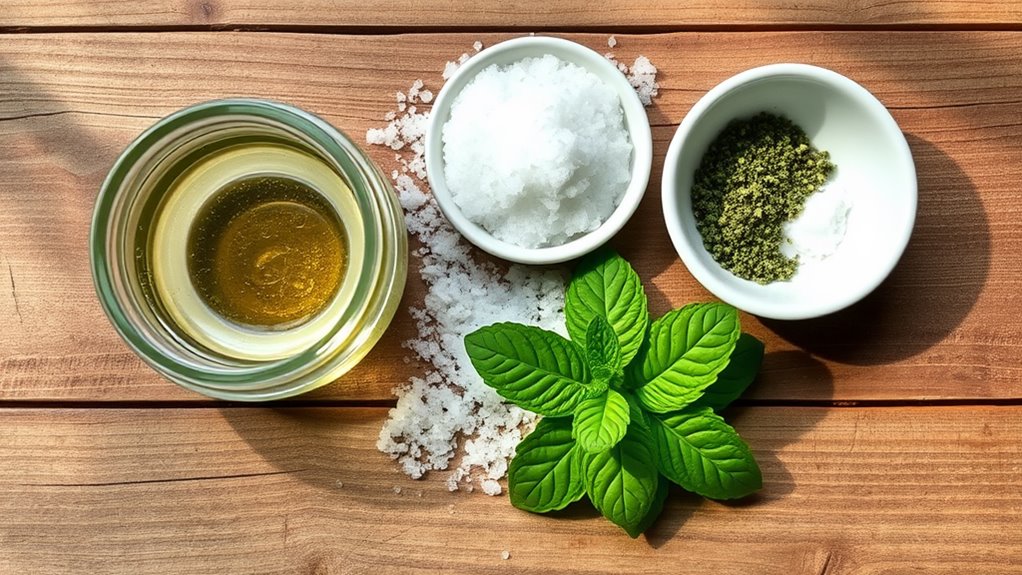
To make your own scrub for smooth skin, start by mixing together your chosen ingredients in a bowl.
Use equal parts of a gentle exfoliant, like sugar or salt, and a nourishing oil, such as coconut or olive oil.
Stir until it’s well combined and reaches a paste-like consistency.
Incorporating an oil into your routine can help to achieve irresistibly soft skin, making this DIY scrub a fantastic addition to your skincare regimen.
Now you’re ready to pamper your skin with this luxurious mixture!
Tips for Application and Use
While you might be eager to dive into your new DIY scrub, taking a moment to prep your skin can enhance the experience and effectiveness.
Start with damp skin to help the scrub glide smoothly. Use gentle, circular motions to avoid irritation, and focus on rough areas like elbows and knees. Incorporating a hydrating serum afterward can further boost your skin’s moisture and keep it glowing.
Rinse thoroughly with warm water, and pat your skin dry for best results.
What to Expect After Use
After you’ve rinsed off your DIY scrub, you’re likely to notice an immediate difference in your skin’s texture. Your skin will feel soft, smooth, and revitalized. However, it’s also essential to understand what you can expect over the next few days. Here’s a quick overview of what to anticipate:
| Day | Expectation | Recommendation |
|---|---|---|
| Day 1 | Noticeable softness | Moisturize daily |
| Day 2 | Improved tone | Apply sunscreen |
| Day 3 | Increased hydration | Use light oils |
| Day 4 | Gentle exfoliation | Avoid harsh scrubs |
| Day 5 | Long-lasting smoothness | Reapply scrub |
Incorporating moisturizing oils into your routine can further enhance the benefits of your scrub and promote a healthy, radiant complexion.