DIY Coffee Scrub That Rivals Expensive Spa Treatments
Create a DIY coffee scrub that rivals expensive spa treatments with ease. Combine equal parts freshly ground coffee and sugar, then blend in coconut oil for hydration. This scrub can brighten your complexion, exfoliate dead skin, and reduce puffiness thanks to caffeine’s anti-inflammatory properties. Apply in circular motions on damp skin for maximum results. Store it properly to maintain freshness. Discover more tips and customization ideas to elevate your skincare game even further.
Benefits of Using Coffee in Skincare
If you’re searching for a natural way to enhance your skincare routine, look no further than coffee.
Using a homemade coffee face scrub can brighten your complexion, exfoliate dead skin cells, and improve circulation.
The caffeine in coffee can also reduce puffiness and inflammation, giving you a radiant glow.
Incorporating this simple scrub into your routine makes your skin feel refreshed and rejuvenated. Additionally, the natural ingredients in this scrub can help promote a radiant complexion without harsh chemicals.
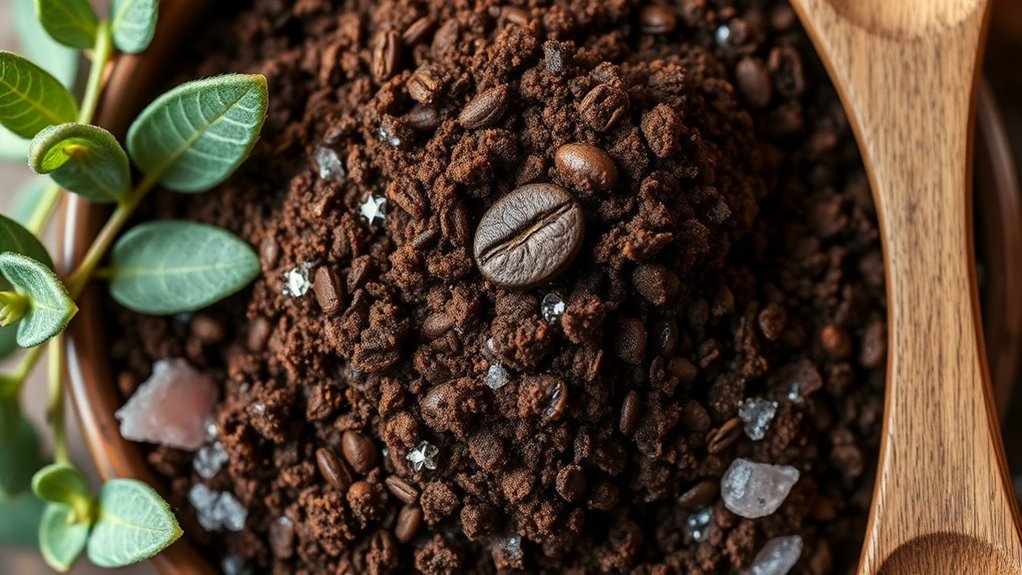
Essential Ingredients for Your Coffee Scrub
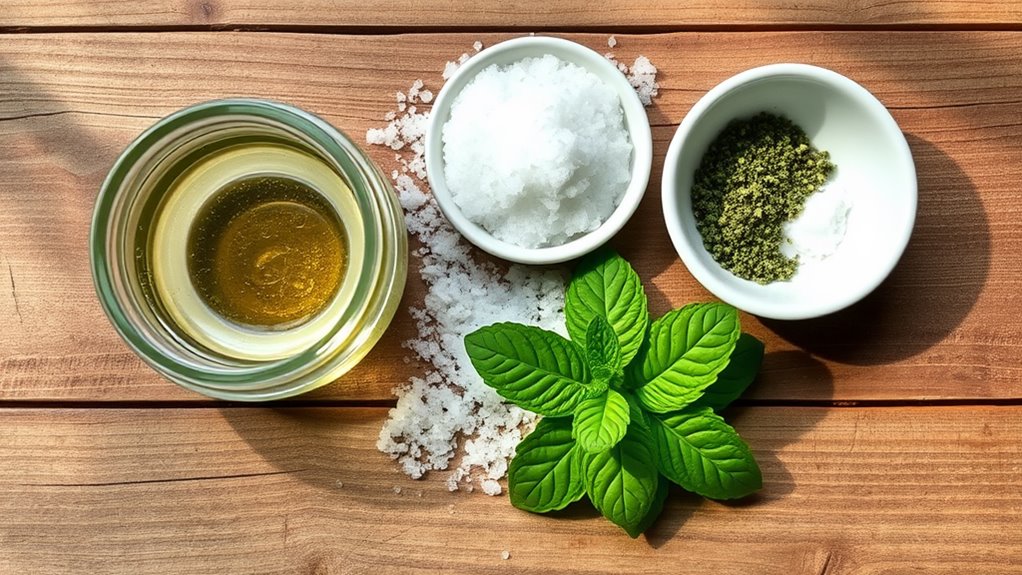
Creating a coffee scrub at home requires just a few essential ingredients, making it a simple yet effective addition to your skincare routine.
You’ll need freshly ground coffee for exfoliation, coconut oil for hydration, and sugar to enhance the texture.
Optionally, a few drops of essential oil can add a lovely scent while boosting your skin’s health. Regular practices of exfoliation and moisturization can lead to healthier skin.
Ready to pamper yourself?
Step-by-Step Guide to Making Your Coffee Scrub
Ready to whip up your own coffee scrub? You’ll need just a few simple ingredients, and mixing them together is a breeze. Let’s explore how to create and apply this refreshing treat for your skin!
Ingredients You Will Need
To whip up an invigorating coffee scrub, you’ll need just a handful of simple ingredients that pack a punch for your skin.
Gather the following items to create your delightful concoction:
- Fresh coffee grounds for exfoliation
- Coconut oil for deep hydration
- Sugar for added sweetness and smoothness
These natural ingredients bring together a powerhouse of benefits that will leave your skin feeling rejuvenated and refreshed!
Easy Mixing Instructions
Mixing your DIY coffee scrub is a breeze, and you’ll be just a few steps away from indulging in spa-like treatment at home.
Begin by combining equal parts ground coffee and sugar in a bowl.
Next, add a few tablespoons of coconut oil until you achieve a thick, paste-like consistency.
Finally, mix thoroughly, ensuring everything is well incorporated.
Your scrub’s ready to use!
Application and Usage Tips
Now that you’ve mixed your coffee scrub to perfection, it’s time to put it to work for your skin.
Follow these simple steps for a refreshing experience:
- Apply a generous amount to damp skin, focusing on problem areas.
- Gently massage in circular motions for about 5 minutes.
- Rinse thoroughly with warm water and pat dry.
Enjoy your rejuvenated, glowing skin!
How to Apply the Coffee Scrub for Maximum Results
Before you apply your coffee scrub, it’s crucial to prepare your skin for the best results.
Make sure you start with clean, damp skin to help the scrub glide on smoothly and penetrate effectively.
With the right application techniques, you’ll unlock all the benefits this natural exfoliant has to offer.
Preparing the Skin
To achieve the best results from your coffee scrub, preparing your skin is essential.
Start by cleansing your skin to remove dirt and oils. Exfoliate gently to remove dead skin cells and enhance absorption.
Then, rinse with warm water to open up your pores for maximum impact.
- Cleanse your skin
- Exfoliate gently
- Rinse with warm water
Application Techniques
Once your skin is prepped and ready, it’s time to focus on how to apply the coffee scrub for maximum benefits.
Take a generous amount and work it into your skin using circular motions. This not only exfoliates but also stimulates circulation.
Spend about five minutes on each area, then rinse off with warm water. Pat dry and feel your skin glow!
Tips for Storing Your Coffee Scrub
While you might be excited to whip up your DIY coffee scrub, how you store it plays a crucial role in maintaining its freshness and effectiveness.
To ensure your scrub stays at its best:
- Use an airtight container to keep moisture out.
- Store it in a cool, dark place to prevent spoilage.
- Label the container with the date you made it for reference.
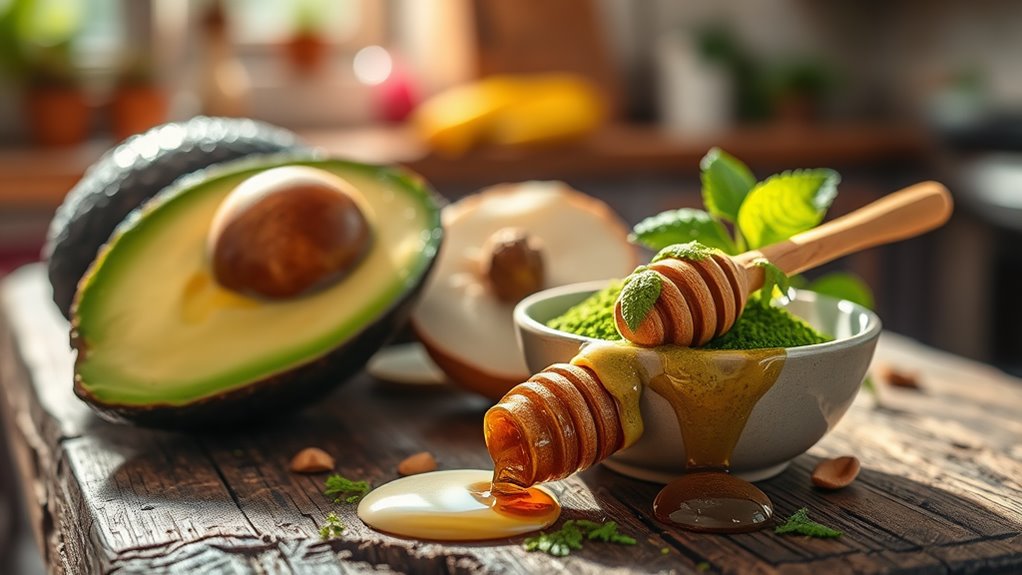
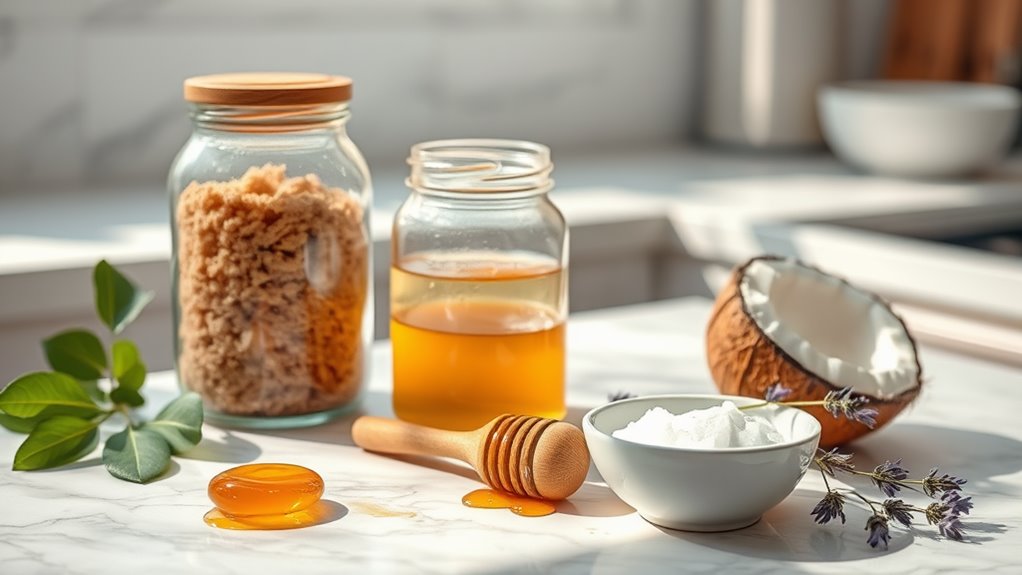
Additional Add-Ins to Customize Your Scrub
If you’re looking to elevate your DIY coffee scrub, adding a few extra ingredients can create a personalized blend that caters to your skin’s unique needs. Here are some wonderful combinations to consider:
| Add-In | Benefits |
|---|---|
| Coconut Oil | Moisturizes and nourishes |
| Brown Sugar | Exfoliates and smooths skin |
| Honey | Hydrates and soothes skin |
| Essential Oils | Provides fragrance and benefits |
Incorporating these add-ins can boost circulation through gentle exfoliation and improve overall skin texture.
Real-Life Results: What to Expect After Use
After just one use of your DIY coffee scrub, you might notice a remarkable difference in your skin’s texture and tone.
Here’s what you can expect:
-
A softer, smoother feel as dead skin cells are sloughed away
-
A brighter, more radiant complexion
-
A reduction in the appearance of cellulite over time
These benefits will leave your skin feeling rejuvenated and fresh!