DIY Face Masks Using Ingredients From Your Kitchen
DIY face masks using kitchen ingredients are a great way to nourish your skin naturally. You can whip up a hydrating honey and yogurt mask, or try an avocado and olive oil blend for deep nourishment. Oatmeal and milk soothe irritation, while banana and almond oil brighten your complexion. For added exfoliation, mix coffee grounds with yogurt. Each mask targets specific skin concerns, and there’s plenty more to explore for your skincare routine!
Key Takeaways
- DIY face masks can be crafted using common kitchen ingredients like honey, yogurt, avocado, and oatmeal for personalized skincare solutions.
- Honey and yogurt create a moisturizing mask that hydrates and soothes while alleviating inflammation, ideal for various skin types.
- An avocado and olive oil mask offers nourishment and moisture for soft, revitalized skin, showcasing a simple preparation method.
- Oatmeal and milk can be blended into a soothing mask that calms irritation, effective for acne-prone and sensitive skin.
- Combining coffee grounds with yogurt provides a revitalizing exfoliating mask that removes dead skin cells and improves skin texture.
Benefits of DIY Face Masks
When you choose to make DIY face masks, you’re not just saving money—you’re also unlocking a plethora of benefits for your skin.
These masks let you customize each application, targeting your unique skin concerns with natural ingredients right from your kitchen. You’ll find that ingredients like oatmeal, avocado, and green tea can soothe, hydrate, or rejuvenate your complexion. Additionally, DIY face masks provide natural alternatives to commercial products that may contain harmful additives.
This personalized approach makes your skincare routine feel more intimate and connected. Plus, DIY face masks often lack harsh chemicals, making them gentle for most skin types.
As you pamper yourself with each mask, you’re embracing self-care, nurturing your skin while enjoying a moment of relaxation. It’s a beautiful way to treat yourself lovingly and mindfully.
Honey and Yogurt Moisturizing Mask
When you combine honey and yogurt in a moisturizing mask, you unlock a powerhouse of benefits for your skin. Honey hydrates and has antibacterial properties, while yogurt is packed with nutrients that nourish and soothe. Together, they create a revitalizing treat that leaves your complexion looking fresh and glowing. Additionally, the combination of these ingredients can help alleviate soothing inflammation, making it an excellent choice for anyone dealing with redness or irritation.
Benefits of Honey
Honey isn’t just a natural sweetener; it’s also a powerhouse for your skin. When you apply honey to your face, you’re treating it to deep hydration and nourishment. It contains antioxidants that help fight aging and keep your skin youthful. Plus, its antibacterial properties can soothe breakouts, making your complexion clearer and more radiant.
Here’s a quick overview of honey’s benefits:
| Benefit | Description |
|---|---|
| Moisturizes | Provides deep hydration for dry skin |
| Anti-aging | Reduces fine lines and wrinkles |
| Antibacterial | Fights acne and reduces inflammation |
| Brightening | Enhances skin’s natural glow and radiance |
Incorporating honey into your DIY masks is a sweet treat for your skin!
Yogurt’s Nutritional Properties
Yogurt is packed with nutritional properties that can transform your skincare routine. This humble ingredient not only nourishes your body but also benefits your skin in amazing ways.
When you apply yogurt in your face masks, you’ll experience hydration, soothing, and rejuvenation. Here’s why you’ll love yogurt for your skin:
- Rich in probiotics, promoting healthy skin flora
- Contains lactic acid, gently exfoliating and brightening
- Packed with vitamins B2, B12, and riboflavin, boosting skin radiance
- Loaded with zinc, helping reduce inflammation and redness
- Moisturizing properties that lock in hydration for soft skin
Using yogurt in a face mask can elevate your self-care rituals, making your skin feel cared for and adored.
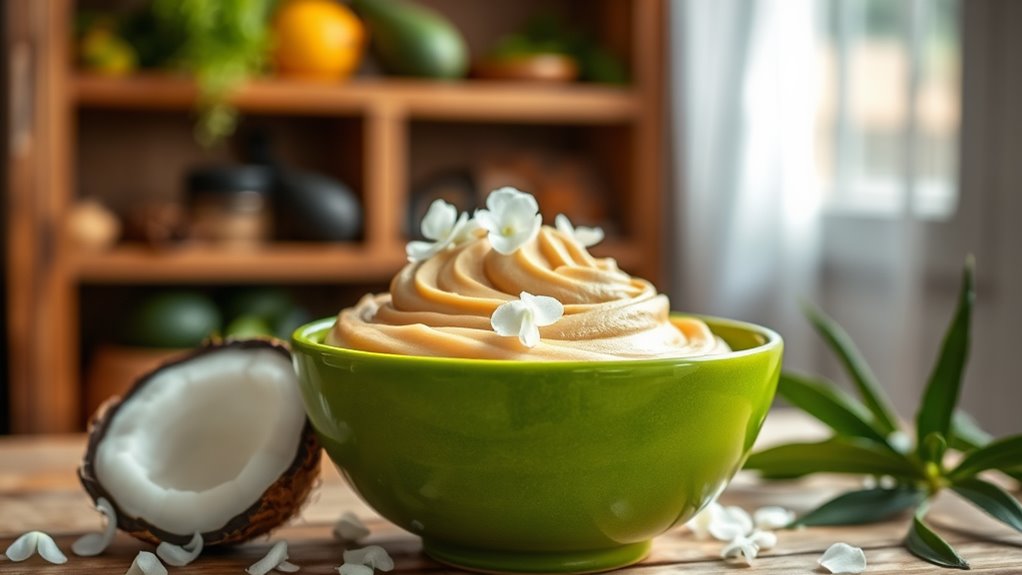
Avocado and Olive Oil Nourishing Mask
An avocado and olive oil nourishing mask is a perfect way to pamper your skin with natural ingredients.
This delightful combo brings moisture and nourishment, making your skin feel soft and revitalized. Simply mash half an avocado in a bowl, then mix in two tablespoons of olive oil until you achieve a creamy consistency.
Gently apply this sumptuous mixture onto your clean face, feeling the love of each ingredient. Let it sit for about 15-20 minutes, giving your skin a chance to absorb all that goodness.
Rinse off with warm water, and you’ll instantly notice a beautiful glow. Treat yourself to this luxurious mask once a week, and watch your skin flourish with hydration and vibrancy. Incorporating DIY face scrubs into your skincare routine can further enhance your glow.
You deserve it!
Oatmeal and Milk Soothing Mask
If you’re looking for a gentle way to soothe your skin, the oatmeal and milk soothing mask is a fantastic choice. This comforting blend nourishes your face and calms irritation, leaving you with a soft, radiant glow. Additionally, oatmeal is known for its ability to soothe irritation, making it an excellent ingredient for acne-prone skin.
Here’s how to make your own soothing concoction:
- Ingredients: 2 tablespoons of oatmeal
-
Ingredients: 3 tablespoons of milk
-
Instructions: Blend the oatmeal until it’s a fine powder.
-
Instructions: Mix it with milk to form a paste.
-
Application: Apply generously to your face and relax for 15-20 minutes.
After rinsing, you’ll notice how refreshed and revitalized your skin feels.
Treat yourself to this simple luxury, and embrace the calming moments it creates. You deserve it!
Banana and Almond Oil Brightening Mask
Looking to brighten up your complexion? You’re in for a delightful treat with this Banana and Almond Oil Brightening Mask!
Simply mash half a ripe banana in a bowl and mix in a tablespoon of almond oil. The nourishing properties of banana hydrate your skin while vitamin E from almond oil adds a radiant glow. Incorporating cuticle care into your skincare routine can help enhance the overall appearance of your hands, complementing your refreshed face.
Apply the mixture to your face, letting it sit for 15-20 minutes. As you relax, let the sweet scent and creamy texture envelop you, calming your senses.
Rinse it off with warm water, then pat your skin dry. You’ll love how refreshed and luminous your complexion looks afterward.
Give yourself a little time to shine—you deserve it! Enjoy this pampering ritual.
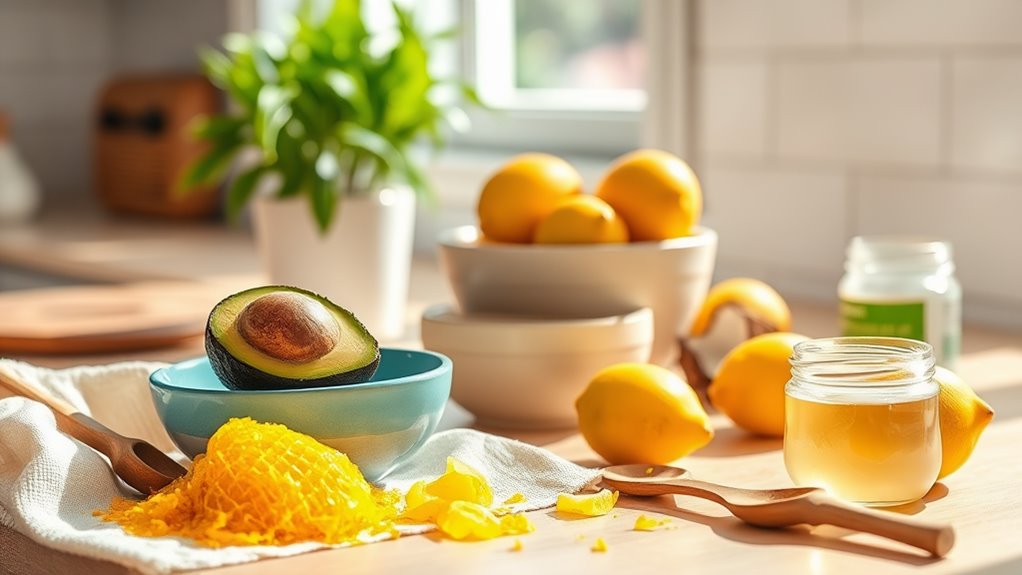
Egg White and Lemon Tightening Mask
For those seeking a natural way to tighten and firm their skin, the Egg White and Lemon Tightening Mask is an excellent choice. This simple combination works wonders, leaving your skin feeling refreshed and uplifted.
Here’s how to whip it up:
- 1 egg white
- Juice from half a lemon
- Clean mixing bowl
- Whisk or fork
- Applicator brush or fingers
Just mix the egg white with lemon juice until frothy, then gently apply it to your face.
Let it sit for about 15-20 minutes, and rinse it off with warm water. You’ll feel a delightful tightening sensation, promoting youthful skin.
Treat yourself to this mask regularly, and enjoy the lovely glow!
Coconut Oil and Sugar Exfoliating Scrub
A simple yet effective way to achieve smooth, radiant skin is by using a Coconut Oil and Sugar Exfoliating Scrub.
Combine equal parts coconut oil and sugar in a small bowl; the sugar exfoliates while the oil hydrates. As you gently massage the mixture onto your skin in circular motions, you’ll feel the warmth and nourishment embrace you.
This scrub clears away dead skin, revealing your natural glow beneath. After a few minutes, wash it off with lukewarm water, and feel the softness that follows.
Treat yourself to this luxurious experience once a week, and your skin will thank you. Enjoy the intimate ritual of self-care, fostering a deeper connection with your own beauty. You deserve this.
Coffee Grounds and Yogurt Revitalizing Mask
If you’re looking to rejuvenate your skin, the Coffee Grounds and Yogurt Revitalizing Mask is a great choice. Coffee grounds exfoliate and stimulate while yogurt nourishes your skin with moisture and vitamins. Let’s explore the benefits, application tips, and how to rinse it off for the best results.
Benefits of Coffee Grounds
Coffee grounds aren’t just a leftover from your morning brew; they can transform your skincare routine. Packed with antioxidants, they’re an incredible natural ingredient that perks up your skin.
When you mix them with yogurt, you create a revitalizing mask that invigorates and brightens your complexion.
Here are some benefits of using coffee grounds:
- Exfoliates dead skin cells
- Improves blood circulation for a healthy glow
- Reduces puffiness and dark circles
- Fights signs of aging with antioxidants
- Tightens and firms skin
Yogurt’s Skin Nourishing Properties
Yogurt is a powerhouse for your skin, offering a range of nourishing properties that enhance your beauty routine. Packed with probiotics, it helps maintain your skin’s natural balance. When combined with coffee grounds, you get a perfect revitalizing mask that exfoliates and brightens.
Here’s a little overview of the key benefits:
| Ingredient | Benefit | Skin Type |
|---|---|---|
| Yogurt | Hydrates and soothes | All skin types |
| Coffee Grounds | Exfoliates and energizes | Oily and dull skin |
| Combined Mask | Revitalizes and enhances glow | Dry and combination skin |
Embrace this delicious duo, and watch your skin thrive. You deserve moments of pampering that truly nourish you!
Application and Rinse Tips
To apply the coffee grounds and yogurt revitalizing mask effectively, start by cleansing your face to remove any impurities.
Once your skin’s fresh and ready, gently massage the mask onto your face in circular motions. Let it sit for about 10-15 minutes, allowing time for those wonderful nutrients to soak in.
When it’s time to rinse off, embrace these tips for a lovely experience:
- Use lukewarm water for a soothing effect.
- Avoid scrubbing harshly; let the mask dissolve gently.
- Pat your face dry with a soft towel.
- Follow up with your favorite moisturizer to lock in hydration.
- Enjoy the lingering scent and the soft, revitalized feel of your skin.
Turmeric and Honey Anti-Inflammatory Mask
If you’re searching for a natural remedy to soothe inflammation and brighten your skin, the turmeric and honey anti-inflammatory mask might be just what you need.
This simple blend combines turmeric’s powerful anti-inflammatory properties with honey’s soothing moisture. To whip this up, mix one tablespoon of turmeric powder with two tablespoons of honey until you achieve a smooth paste.
Gently apply it to your face, focusing on areas where you feel irritation or dullness. Let it sit for about 15-20 minutes, allowing your skin to absorb its goodness.
Rinse off with warm water, and you’ll be left with a refreshed, radiant complexion. Trust me, your skin will thank you!
Embrace this sweet, golden treat and enjoy the glow.
Green Tea and Aloe Vera Calming Mask
A calming oasis for your skin, the green tea and aloe vera mask is perfect for reducing redness and irritation. This soothing blend hydrates while giving your face the tenderness it craves.
Let’s dive into the benefits of this gentle mask:
- Rich in antioxidants: Protects your skin from damage and promotes healing.
- Hydration boost: Aloe vera locks in moisture for a supple feel.
- Calming effect: Green tea soothes inflammation, offering blissful relief.
- Easy to make: Just mix cooled green tea and fresh aloe vera gel!
- Natural ingredients: Free from chemicals, keeping your skin naturally radiant.
Indulge in this delightful mask and let your skin rejoice!
Embrace the calm and enjoy the moment.
How to Properly Apply and Remove Face Masks
Applying and removing face masks correctly can make all the difference in your skincare routine. Start by cleansing your face, then gently pat it dry. With clean hands or a brush, apply the mask evenly, avoiding your eyes and mouth. Take a deep breath, relax, and let the mask work its magic for the recommended time.
When it’s time to remove the mask, use lukewarm water to gently wash it off, ensuring no residue remains. Pat your face dry with a soft towel, and follow up with moisturizer.
Here’s a quick reference:
| Step | Action |
|---|---|
| Cleanse | Wash your face thoroughly |
| Apply | Use clean hands or a brush |
| Relax | Let it sit for suggested time |
| Remove | Rinse with lukewarm water |
| Moisturize | Finish with your favorite cream |