This DIY Blush Tint Is Natural, Cute, and Easy to Make
Have you ever considered how easy it is to create your own blush tint? With just a few kitchen ingredients, you can craft a natural and cute product that not only enhances your cheeks but also reflects your personal style. Imagine mixing coconut oil, beetroot powder, and beeswax to achieve that perfect rosy glow. Curious about the step-by-step process and tips to make it uniquely yours? Let’s explore the delightful world of DIY blush tint together.
Key Takeaways
- Create a natural blush tint using nourishing oils and natural pigments like beetroot or cocoa powder for a rosy hue.
- Melt a base like shea butter or coconut oil, then mix in the colorant for a smooth and consistent blend.
- Customize your tint with essential oils for fragrance and mica powder for added shimmer to enhance your look.
- Apply the tint with your fingertip or sponge, blending from the apples of your cheeks toward the temples for a natural finish.
- Store your DIY blush in an airtight container in a cool, dark place to maintain its quality and effectiveness.
Ingredients You’ll Need
To create your own blush tint, you’ll need a few simple yet effective ingredients that are easy to find.
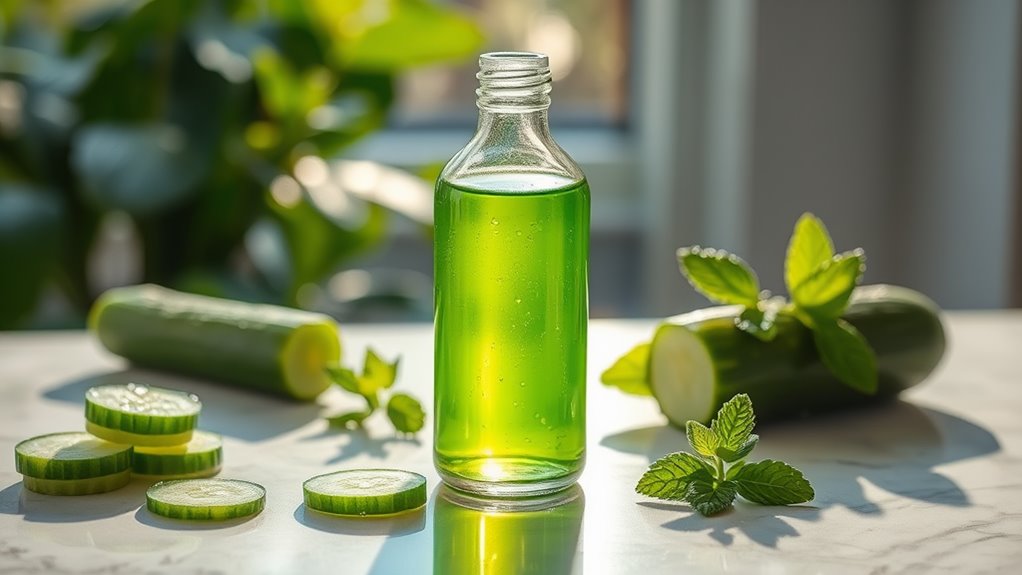
Start with a base of natural oils, like coconut or jojoba, which nourish your skin while providing a smooth application.
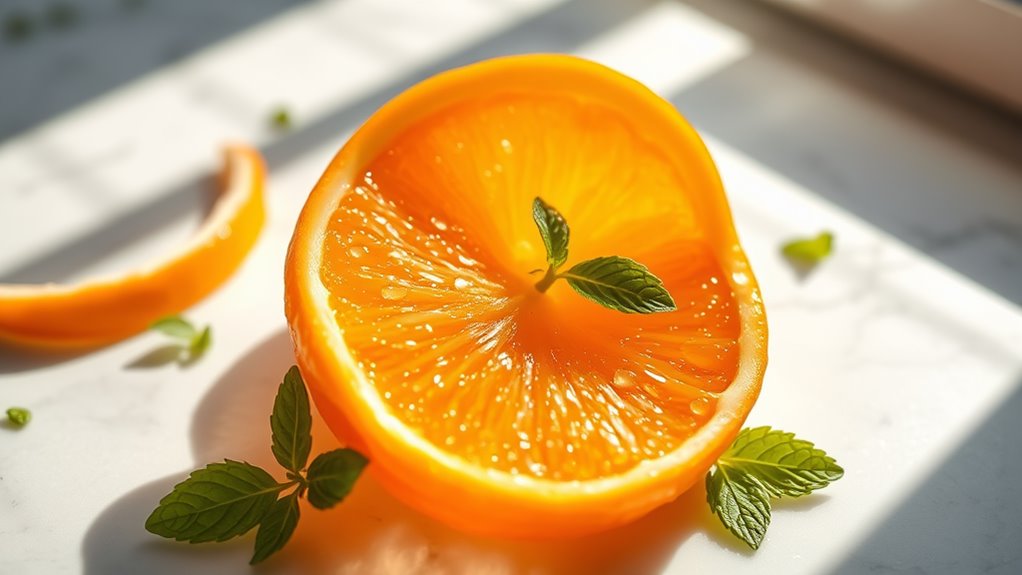
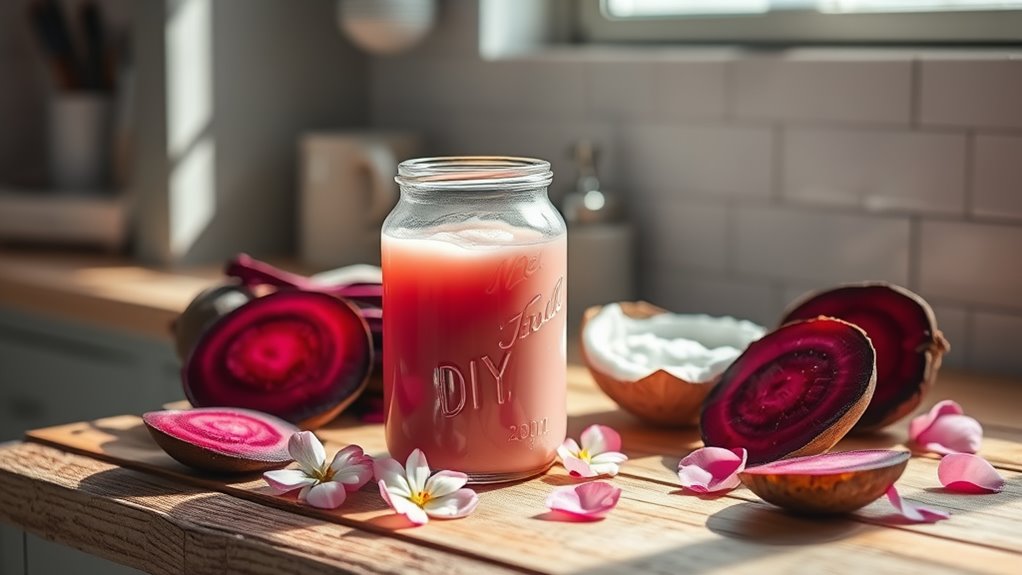
Next, choose a natural pigment—beetroot powder or cocoa powder works wonders for that rosy hue.
Finally, a touch of beeswax helps to bind everything together and gives your tint a lovely texture.
With these ingredients, you can craft a beautiful natural cheek tint that’s free from harsh chemicals and perfect for daily wear. Additionally, consider pairing your blush tint with a DIY hydrating serum to further enhance your skin’s radiance.
Get ready to enhance your natural glow!
Step-by-Step Instructions
Now that you’ve gathered your natural ingredients, it’s time to bring your blush tint to life.
Start by measuring out your base, like shea butter or coconut oil, and melt it gently in a double boiler.
Once melted, remove it from heat and stir in your chosen colorant, such as beet powder or cocoa powder.
Blend well until you achieve a smooth consistency.
Add a few drops of essential oil for a lovely fragrance, then pour the mixture into a small container.
Allow it to cool and set for a few hours.
Homemade beauty products often utilize natural ingredients that are safer and more effective for your skin.
Voila! Your homemade blush tint is ready to use. Enjoy!
Tips for Customizing Your Blush Tint
How can you make your DIY blush tint truly unique?
Start by experimenting with color.
Mix different fruit or vegetable juices for natural hues—beet juice gives a rich pink, while carrot juice offers a warm orange.
You can also adjust the consistency by adding more or less oil or gel for a creamier or lighter feel.
For a fresh scent, consider adding a drop of essential oil like lavender or rose.
Don’t forget to personalize it with shimmer; a bit of mica powder can elevate your blush.
Additionally, using common kitchen ingredients can enhance not only the color but also the skin benefits of your blush.
With these tips, your tint will reflect your individual style beautifully!
How to Apply Your DIY Blush Tint
Wondering how to achieve that perfect flush with your DIY blush tint? Start by applying a small amount of tint to your fingertip or a makeup sponge. Gently dab it onto the apples of your cheeks and blend outward toward your temples for a natural look. Here’s a quick guide to help you:
| Step | Description |
|---|---|
| Choose Shade | Pick a tint that complements your skin tone. |
| Start Small | Use a tiny amount to avoid overdoing it. |
| Blend Well | Use fingers or a sponge to blend evenly. |
| Build Up Color | Add more if needed for a bolder look. |
| Finish Up | Set with a light powder for longevity. |
In addition, using natural ingredients in your DIY products can help to soothe redness and inflammation, promoting healthier skin.
Enjoy your fresh, radiant glow!
Storing Your Blush Tint for Longevity
To keep your DIY blush tint fresh and effective, storing it properly is essential.
Use a small, airtight container to prevent air and moisture from degrading your blend.
Glass jars work wonderfully, maintaining the tint’s integrity while showcasing its beautiful color.
Keep your blush in a cool, dark place, away from direct sunlight and heat sources; this helps preserve its vibrant hue and natural ingredients. Additionally, consider adding natural preservatives to extend the shelf life of your product.
If you notice any changes in texture or scent, it’s best to discard it.
Regularly check your stash to ensure your blush tint stays as cute and effective as the day you made it!